DIY Gift Idea for Grandparents
Nowadays, different generations within a family often live far away from each other and it’s not always possible to drop by for a short visit. But a little flowery courtesy can be made quickly and easily. The centrepiece of the DIY is of course the Pink Kisses® mini carnations, but the packaging is also very special and is perfect for showing grandma and grandpa that you are thinking of them, even if you can’t visit them. By the way, the DIY is also great for crafting with children.
What You Need
List
- Coloured cardboard
- A paint roller
- Paint
- Two round containers of different sizes (as templates)
- A pencil
- Scissors
- A stapler
- Templates for the paper birds and clouds if necessary
- A knife
- Wooden sticks
- A pair of rose scissors
- Foil
- 2 Pink Kisses® carnations
- Cord
- Ribbon
- Carton for mailing
- String
- White cardboard
- Adhesive tape
- Wrapping paper
- Wooden sticks for securing during transport
Make the Cardboard Container
Description
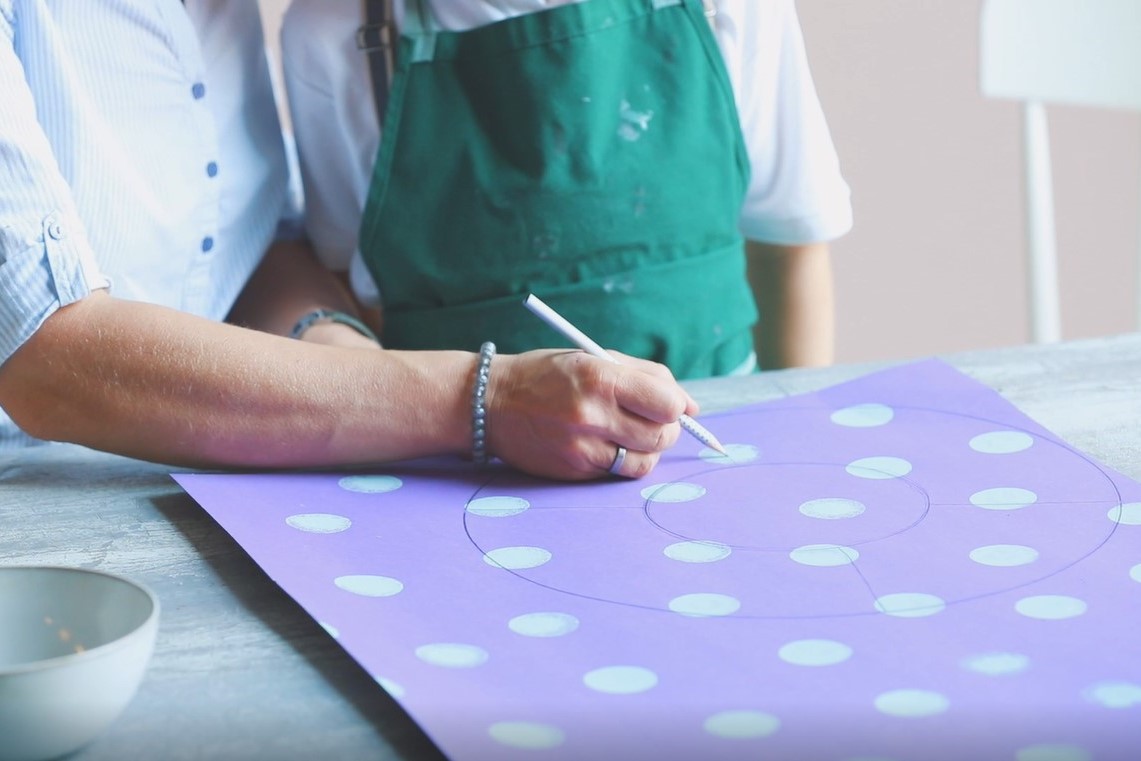
Find some nice coloured cardboard and pattern it using some paint and the round end of a paint roller. When the paint has dried, draw a circle on the cardboard with a pencil and the larger of your two containers (e.g. a large plate). Then place the smaller container at the centre of the circle and draw a second one; this one should be about half the size of the first one. Then draw four straight lines connecting the two circles. Cut out along the outer circle and cut in along the lines to the inner circle. Draw the paper flaps over each other and staple them together.
Make the Bird Sticks
Description
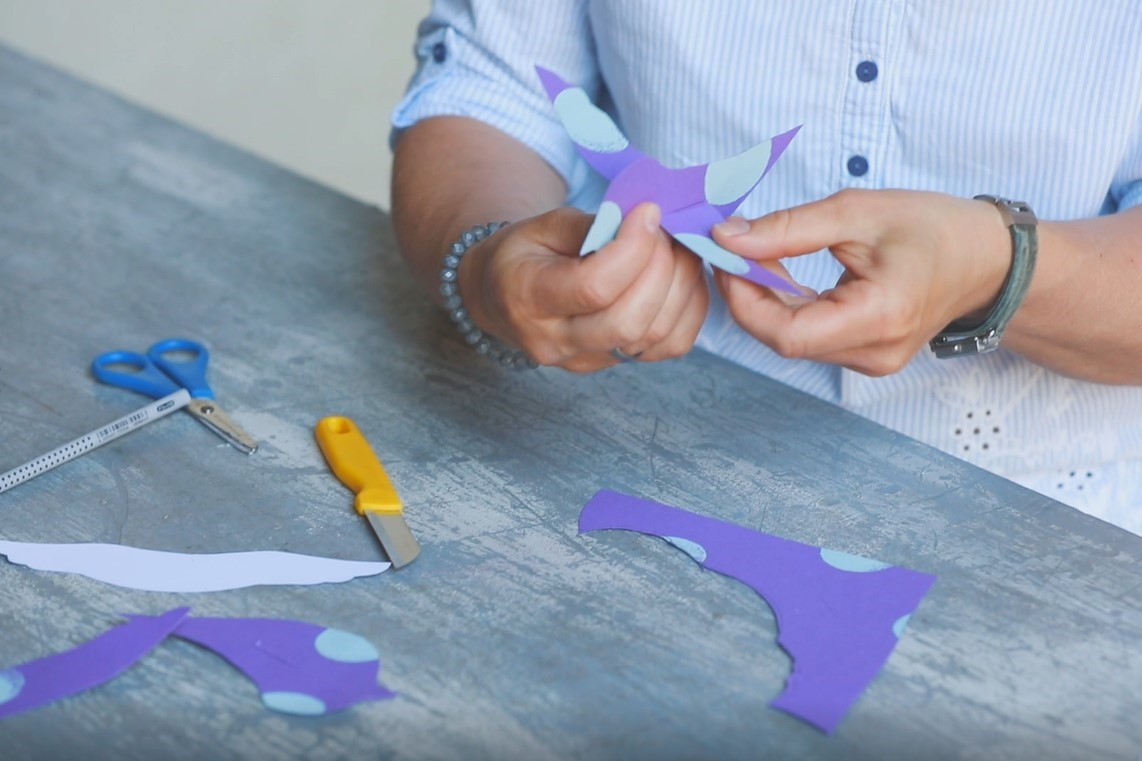
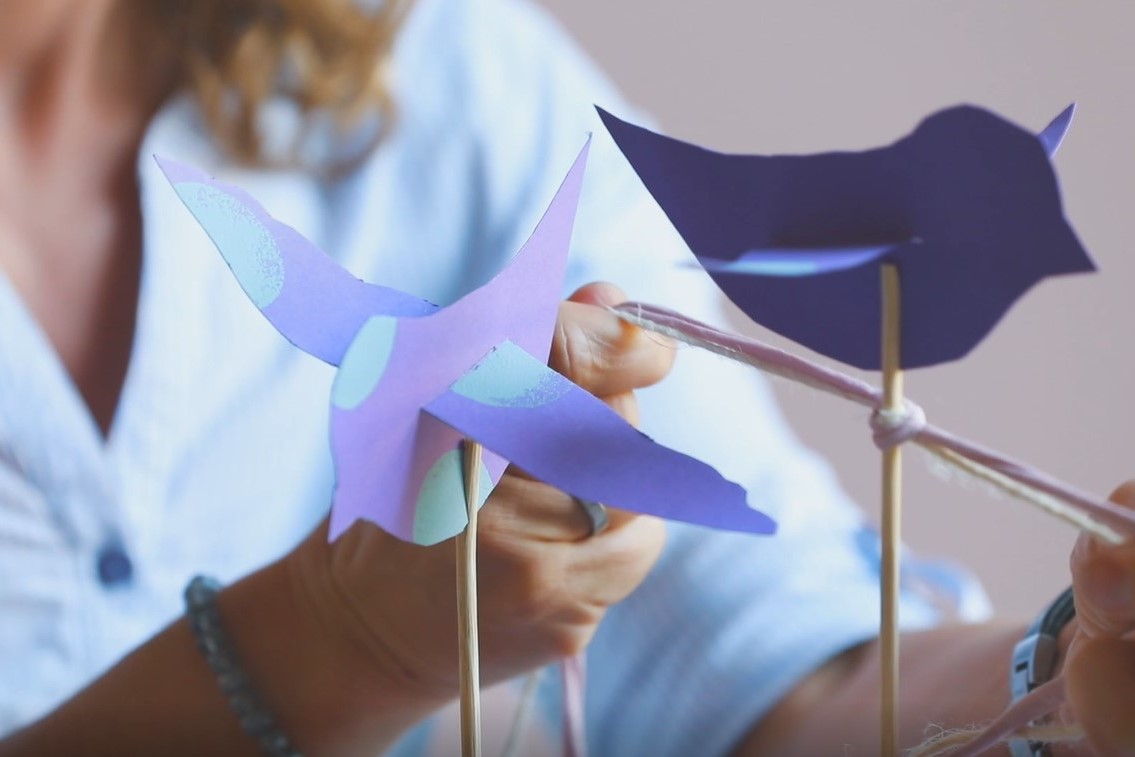
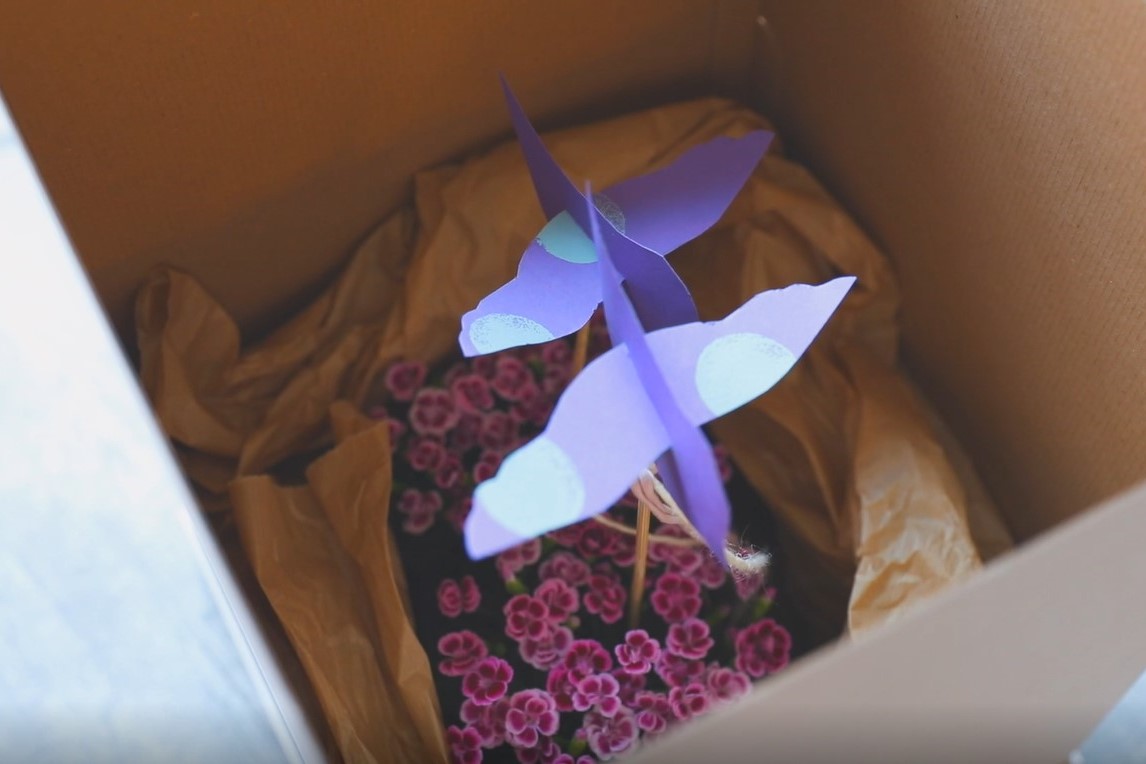
On the remaining cardboard, draw birds and matching wings (of course, you can use other designs if you prefer). If you’re not artistic enough to do this freehand, you can easily find templates online to print out. Cut out the birds and the wings and use a knife to make small slits in the middle of the birds, through which you can then insert the wings. To put the birds on the wooden sticks, cut a slit in the top ends of the sticks with a pair of rose scissors.
Get the Flower Decoration Ready
Description
Put some foil in your mailing carton to protect it from leaking liquid and place the Pink Kisses® inside. Then put the bird sticks in the flowerpots and decorate them with some cord and ribbon.
Make the Packaging
Description
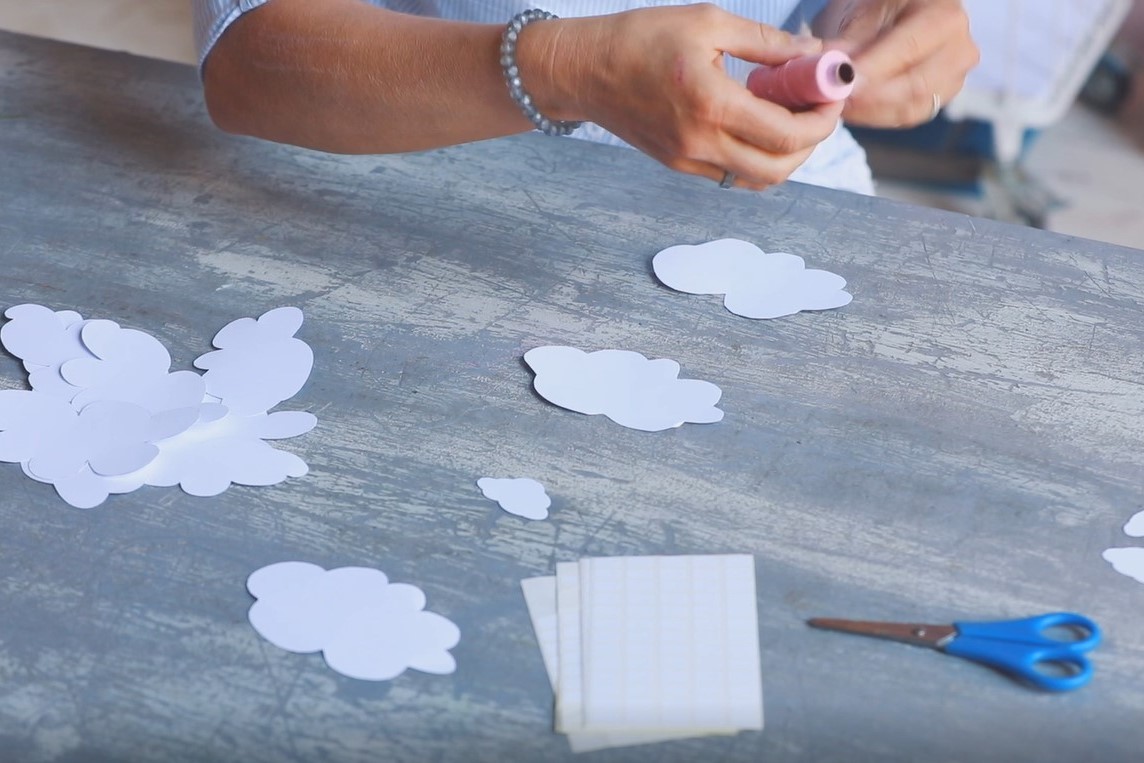
Cut or punch out clouds from white cardboard. It will look best if you make them in different sizes. Place four of these clouds on a string, using tape. Hang several of these garlands on the inside of the lid of the mailing container.
Wrap the Gift
Description
Put some wrapping paper in the box for padding and place the Pink Kisses® inside. Put wooden sticks into the flowerpots to secure them for transport so that the Pink Kisses® do not fall over during the journey. Then pad the gift further until you think it’s ready for transport and put the lid with the cloud garlands on top. Now all you have to do is tape the box shut and put a shipping label showing which side of the package is up. Then your flower decoration is finished and ready to be sent on its way!
You prefer your DIYs in video form? We‘ve got you covered! And if your DIY needs aren’t satisfied with one video, check out the Pink Kisses YouTube channel for more.
