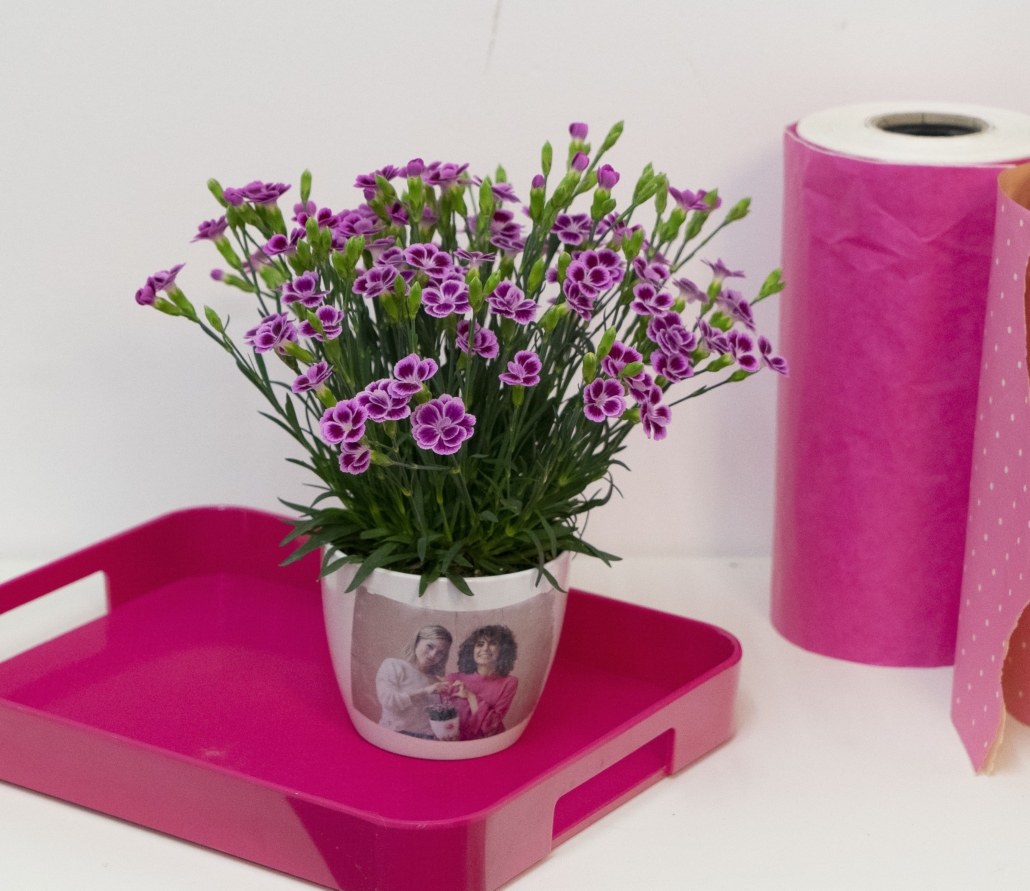
Beautify Flowerpot with Photo
Transferring a photo from paper to any object – what sounds like magic is easy to do with the right tools! In this DIY we show you how to prettify a simple flowerpot full of Pink Kisses® and make it into the perfect personal present for your best friend using mod podge.
What You Need
Description
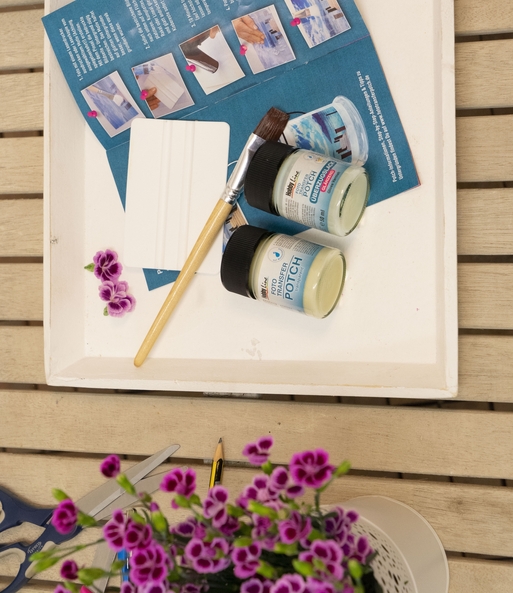
- A photo, e.g. of you and your best friend
- A flowerpot
- Mod Podge for the photo transfer
- A soft brush
- A spatula or a squeegee
- A hair dryer
- A bowl with water
- Top coating
Before you start the transfer, you first need a nice photo, for example of you and your best friend. Watch out: For the transfer, the picture has to be printed with a laser printer, no matter whether it is a printout of a digital photo or a copy of an analogue one. You may have to make a trip to the copy shop before you start. You should also make sure that you print or copy your photo mirror-inverted, as the photo itself will be transferred to the flowerpot laterally reversed. This is especially important if you have any writing in the photo.
Apply the Mod Podge
Description
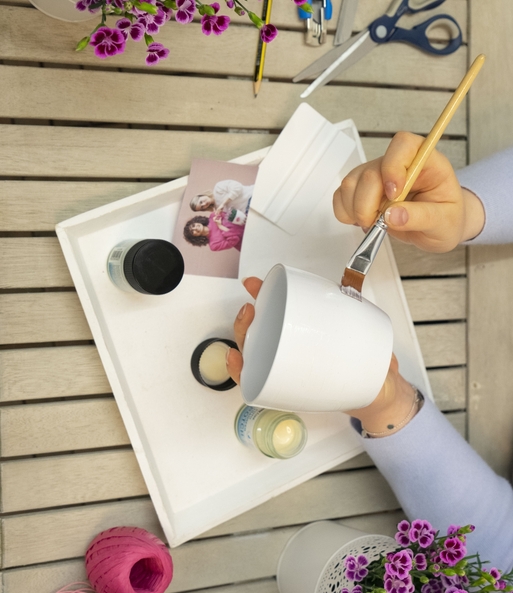
Once your photo is ready, you can start the transfer. Use a soft brush to apply the mod podge evenly to the pot and the printed side of the photo. Work quickly so that the mod podge doesn’t start to dry before you place the photo on the pot.
Place the Photo on the Pot
Description
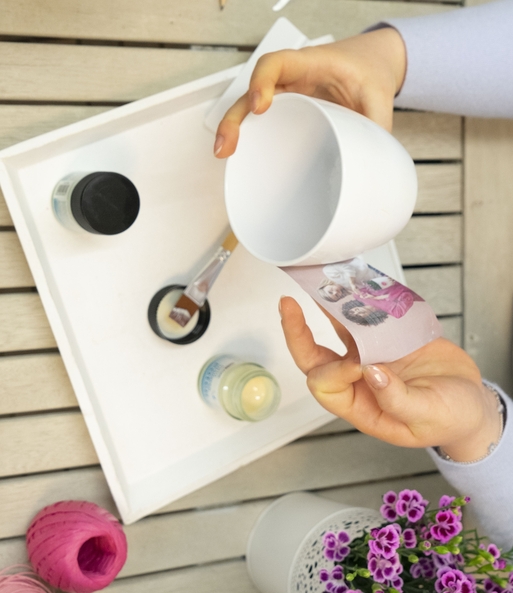
As soon as you have coated the flowerpot and photo with mod podge, carefully place the photo face down on the pot.
Smooth the Photo
Description
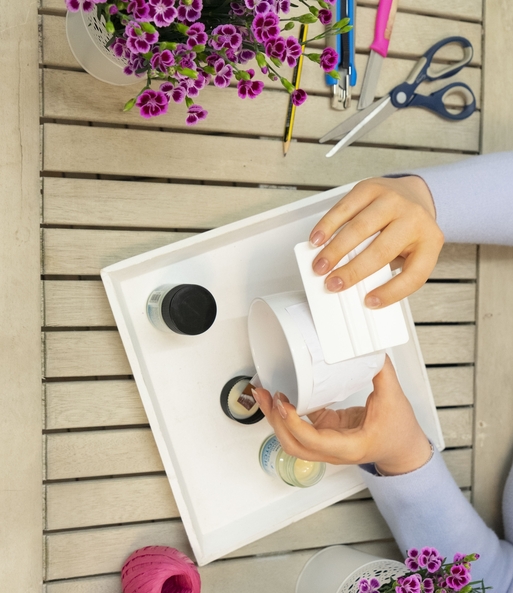
Use a squeegee (or a soft spatula) to smooth out any bubbles under the photo. Make sure the photo is smooth on the surface before moving on to the next step.
Drying
Description
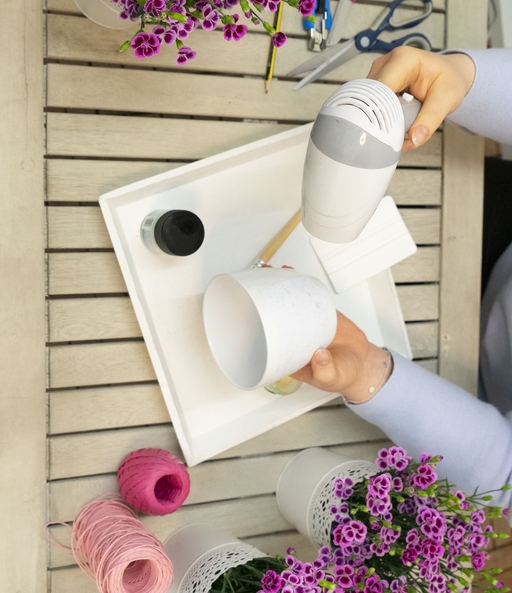
Set your hair dryer to the highest temperature setting and blow dry the picture and pot for about 10 minutes.
Soften and Rub Off
Description
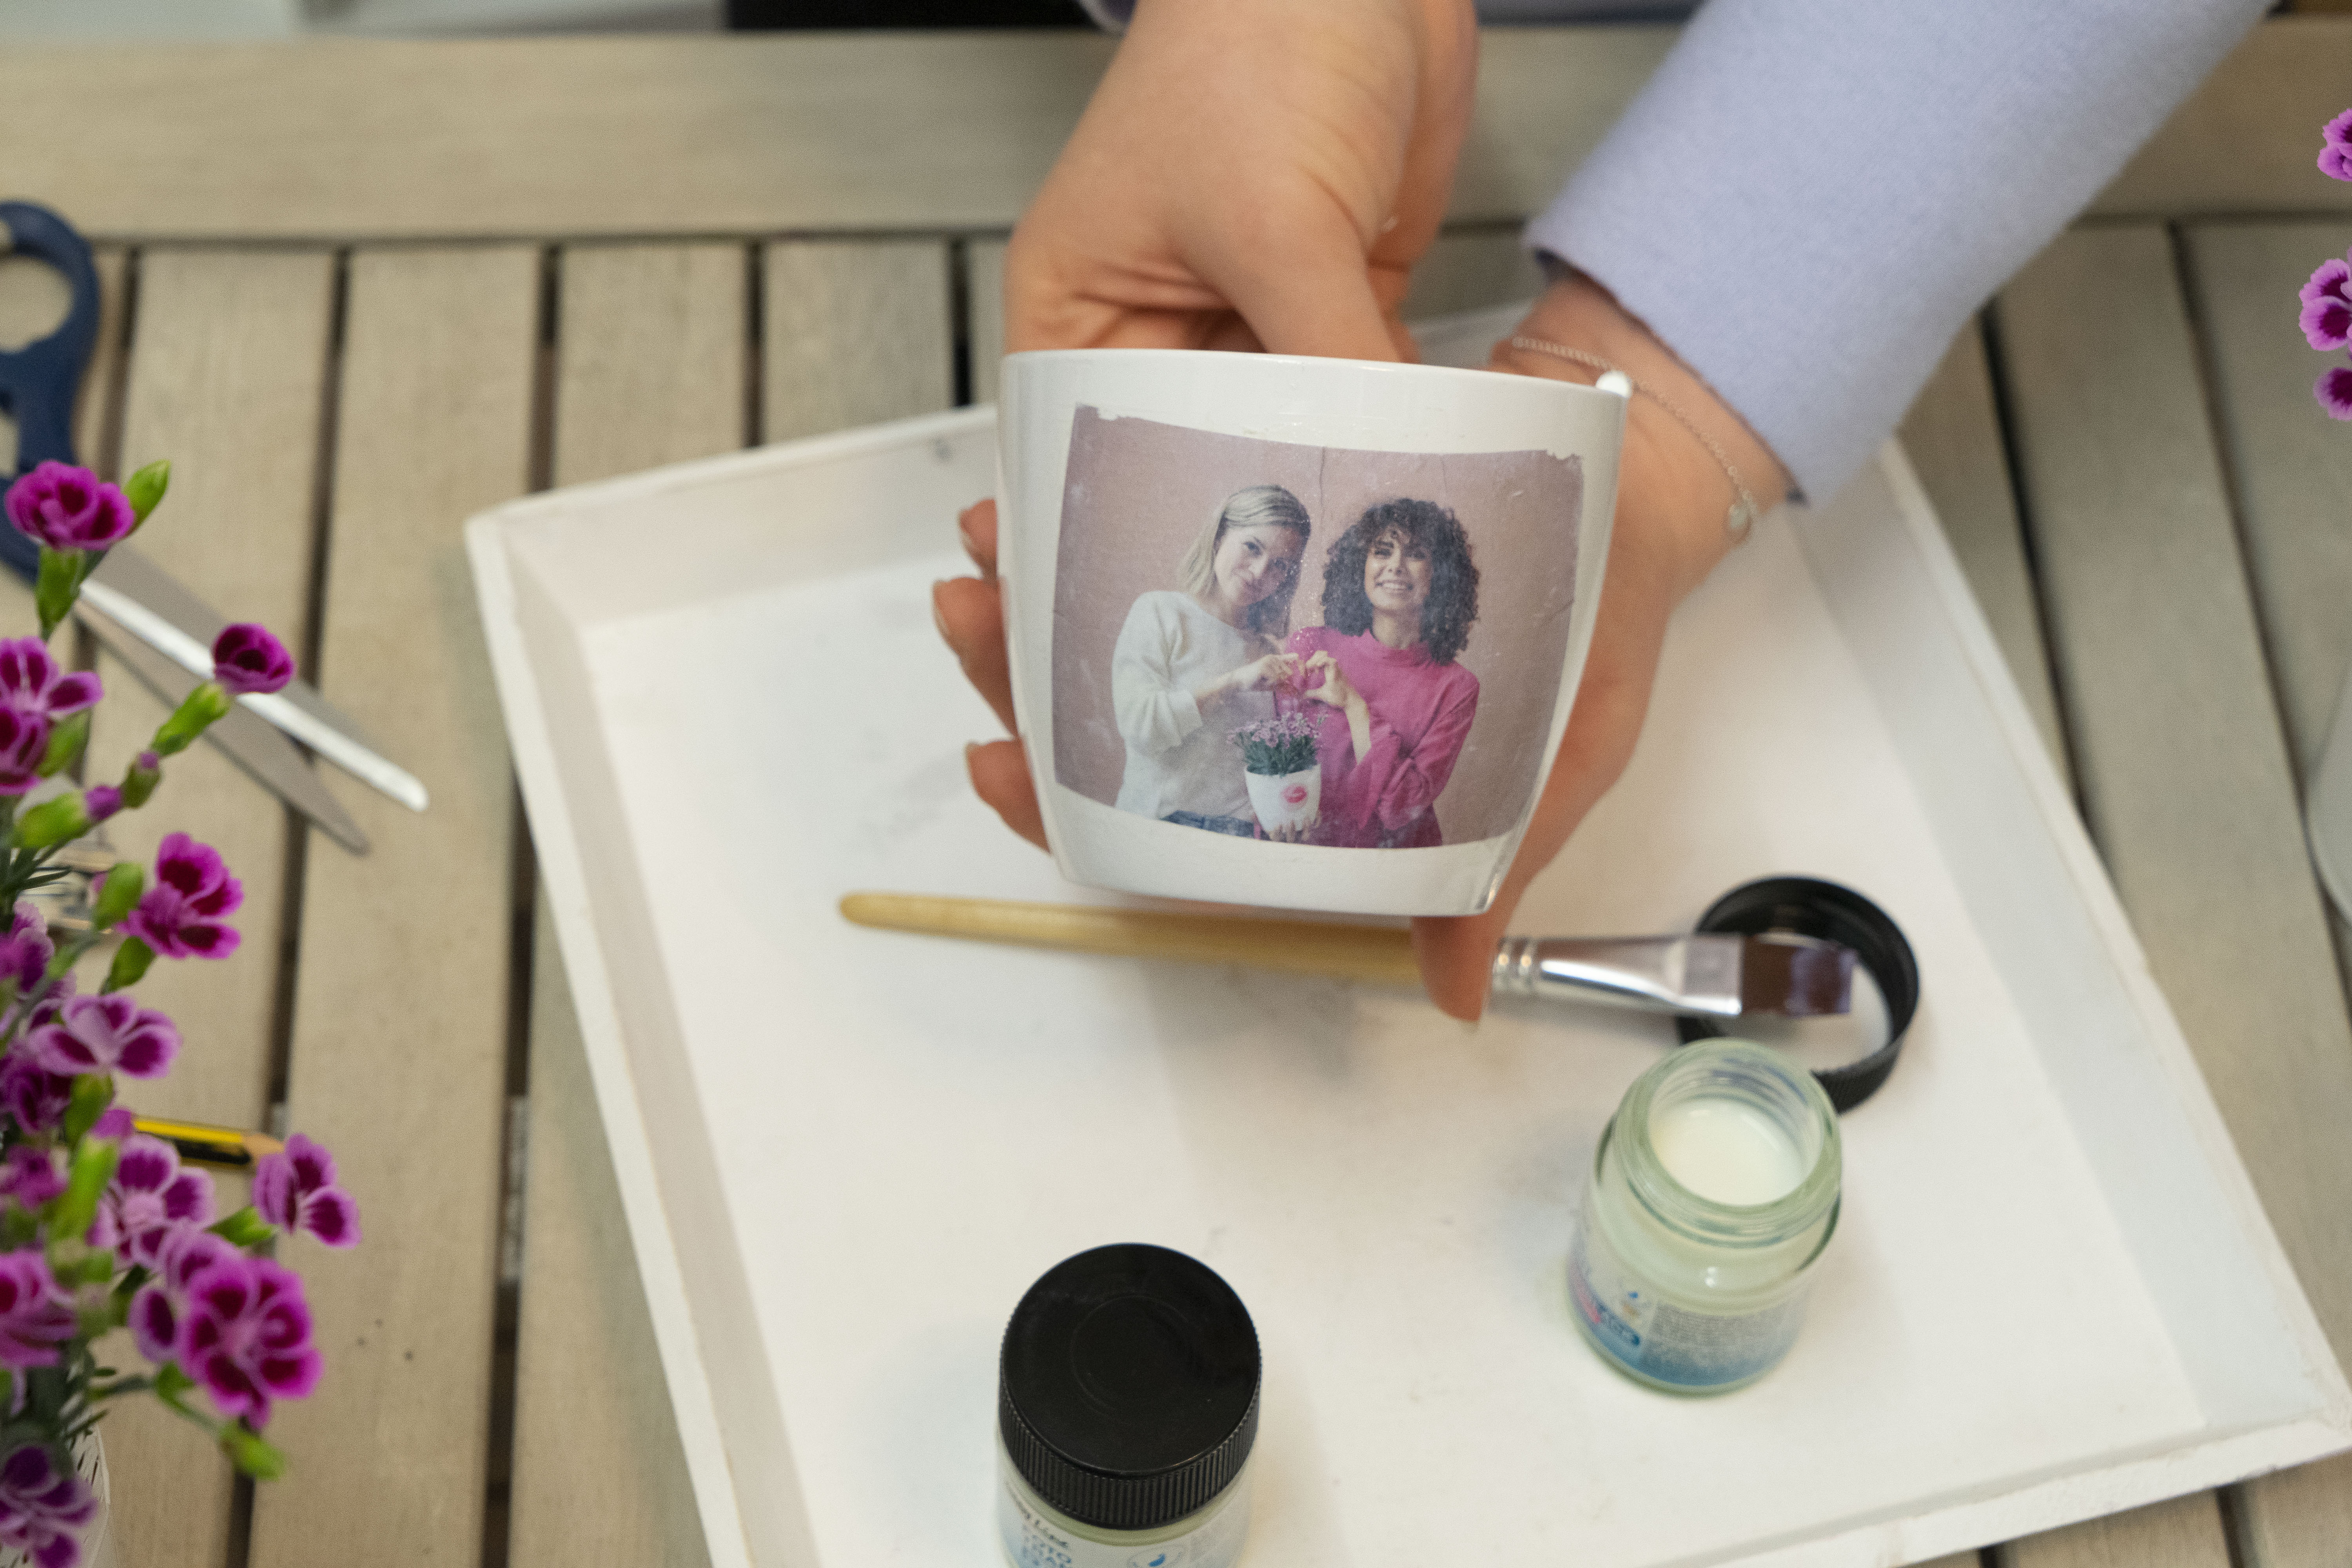
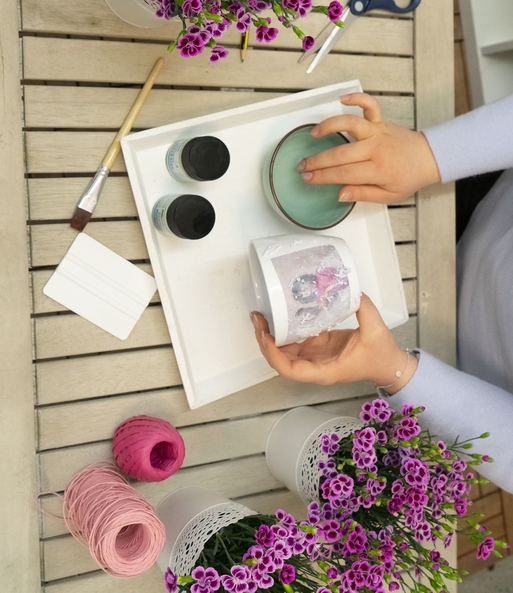
Having barely dried, the whole thing needs to be wet again! Wet the photo with a little water and your fingertips and wait until the paper has softened. Then rub it off with your fingers or a sponge until there is no paper left. Only the ink embedded in the mod podge remains on the planter.
Add the Top Coating
Description
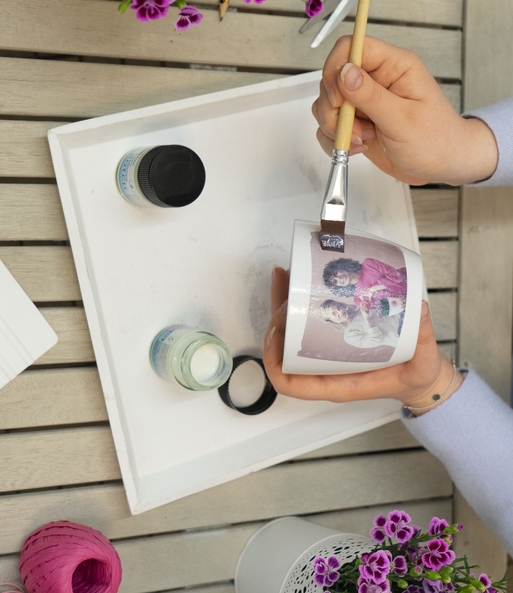
To prevent the mod podge and paint from separating again over time, apply a top coat. Again, use a soft brush and spread the coating evenly.
Podge Perfect
Description
As soon as the coating has dried, your motif is protected from moisture, dirt and dust and is therefore perfect for decorating a flowerpot. Of course, you can also be creative with this technique on other surfaces. How about a photo on a cup, a piece of wood to hang on the wall or even on a candle?


