Personalised Pink Kisses® for your best friend
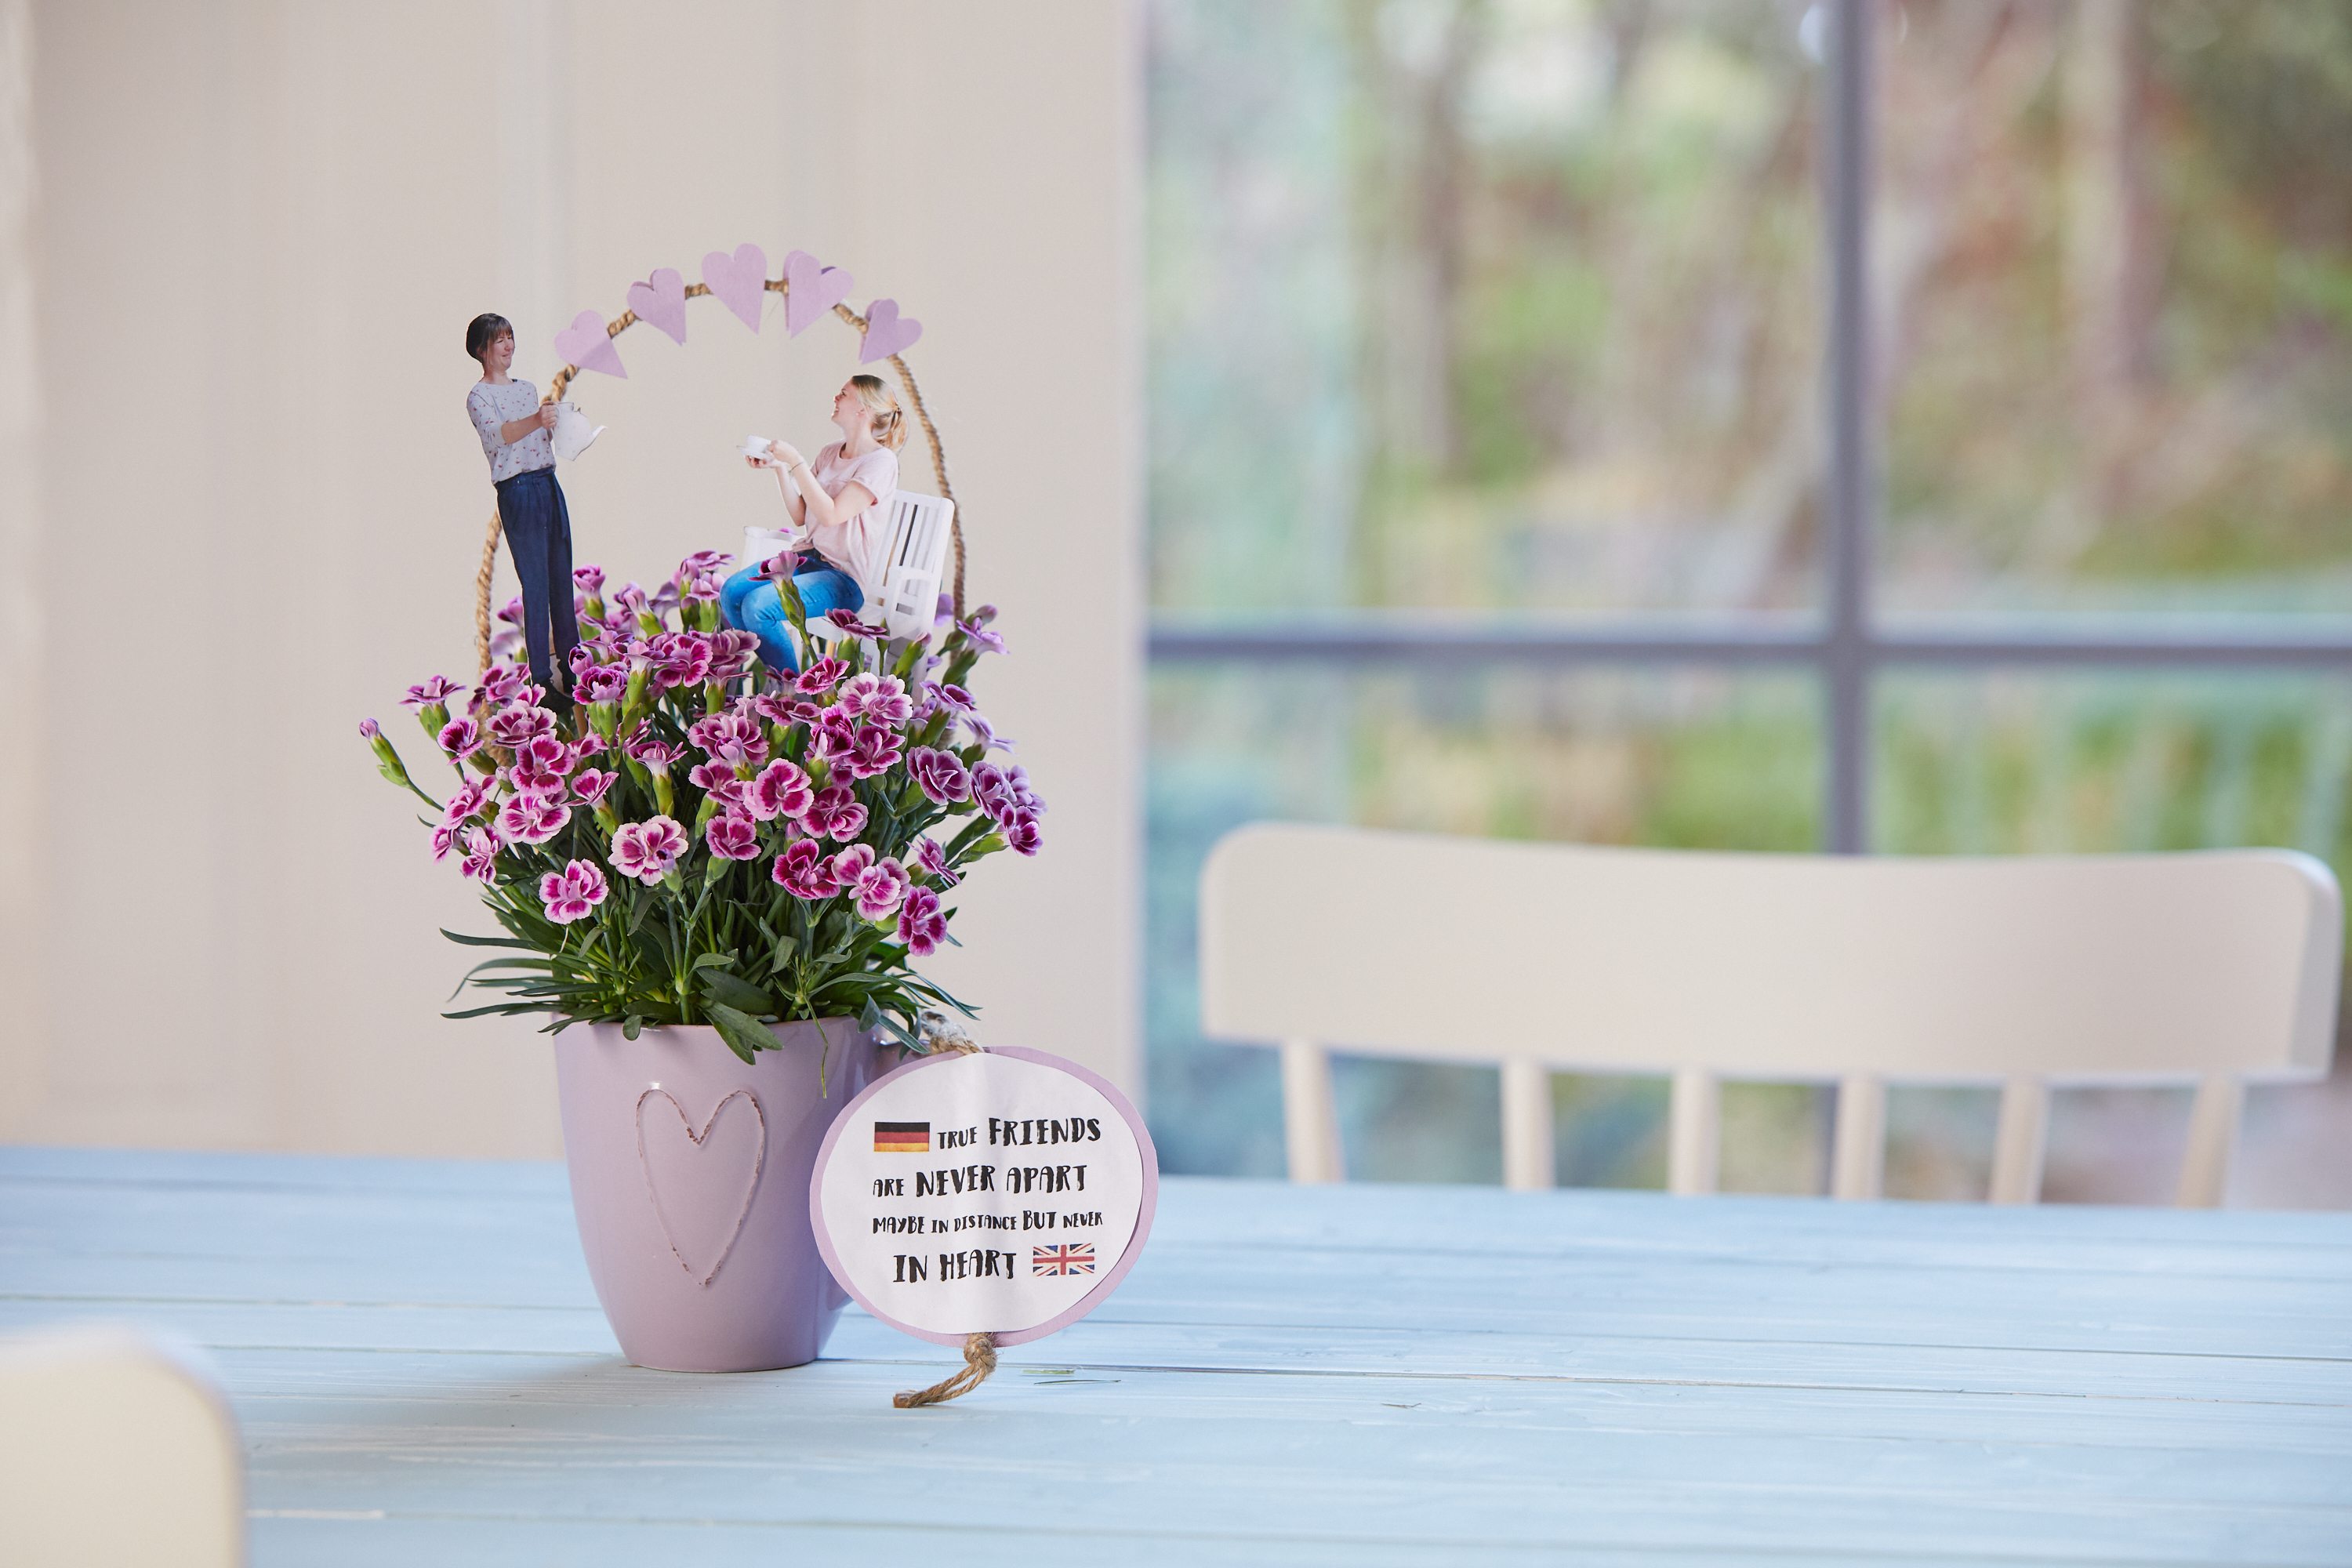
Pink Kisses® carnations are perfect for showing your best friend how much you love her. But sometimes you want to go one better and come up with something special. Maybe you haven’t seen your best friend for a while and want to reminisce a little about the good old days when you more often used to get together to chat, have coffee and celebrate? Then a customised Pink Kisses® is just the thing! In this DIY, we show you how to lovingly decorate a Pink Kisses® as a personal gift for your best friend.
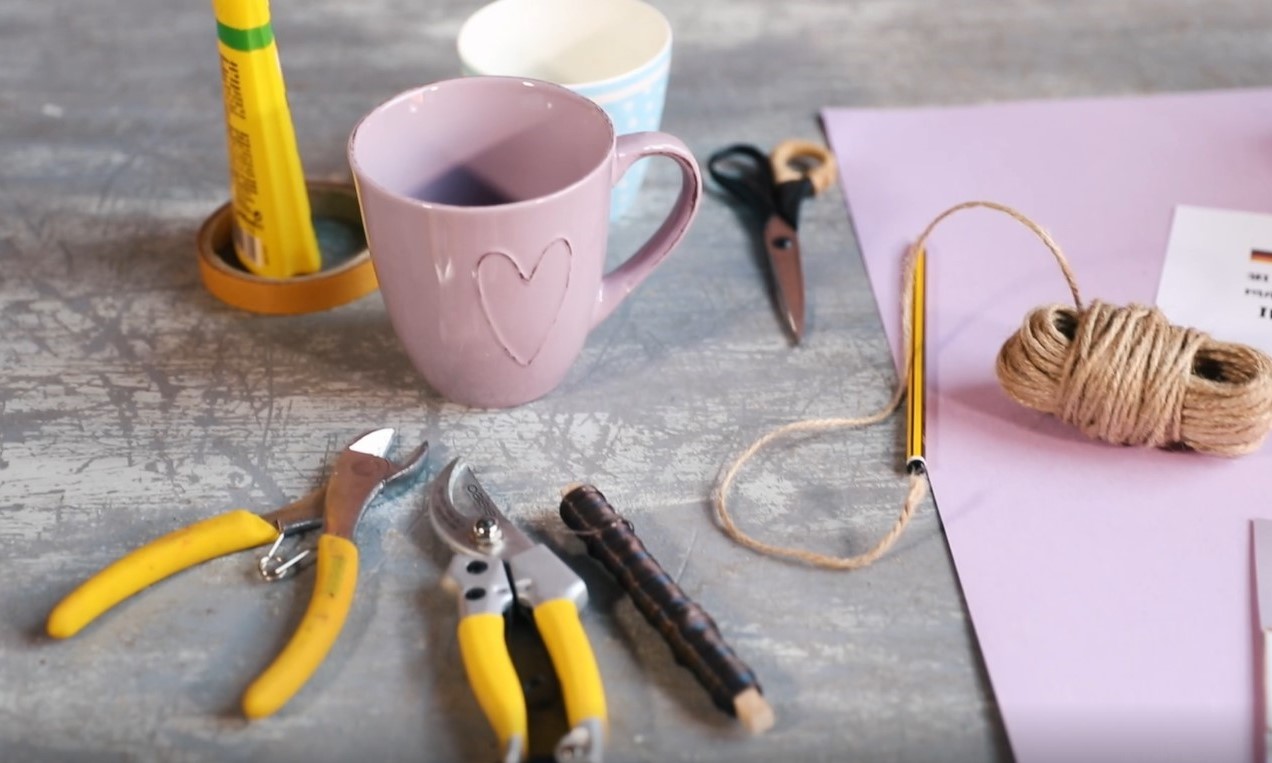
What You Need
List
- White paper (possibly with printing)
- A round jar (as a template)
- A pencil
- Pink cardboard
- Scissors
- Cord
- Glue
- Photos of you and your best friend
- Pink tape
- 4 wooden sticks (if you want to make more than 2 photo stands, more sticks if necessary)
- A Pink Kisses® carnation
- A coffee cup (big enough to hold the Pink Kisses® carnation and slightly bigger than the template)
- Binding wire
- Wire scissors
- Double sided tape
- A cutter
- Wooden sticks to secure for transport
- Packing carton
- Parcel tape
- Parcel stickers
Make a Greeting Card
Description
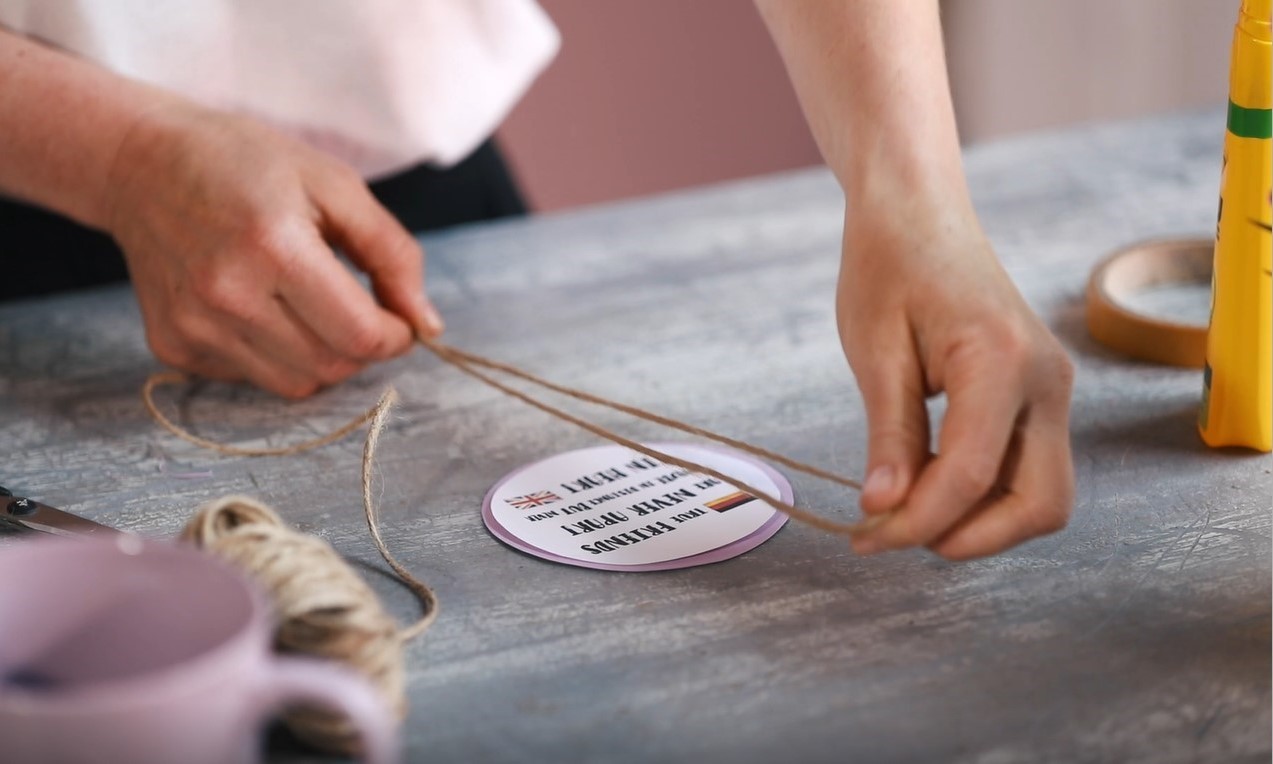
Consider enclosing a handwritten card or a printout with a lovely saying for your best friend. Write or print the saying on the white paper. Be careful not to take up more space on the paper than you can cover with the jar you want to use as a template. Then place the jar on the paper and draw a circle around your saying with the pencil. Do the same again with the cup on the pink card. The circle on the pink card should be bigger than the one on the white paper. Then cut out the two circles.
Place the smaller paper circle on top of the larger cardboard circle and use it to measure out a piece of cord that is also long enough to be used as a loop to attach the circles, which will later be glued to each other, to the cup. Apply enough glue to the pink cardboard and glue first the cord loop and then the paper circle to the cardboard. Then knot the loose ends of the loop together.
Make a Photo Stand
Description
Cut out the silhouettes of you and your friend from the photo or photos and attach them to the top of two wooden sticks with some tape. Be sure to leave enough of the stick free to put into the soil of the Pink Kisses®. Place the Pink Kisses® in the cup and insert the photo holders of you and your friend into the potting soil. Tie the loop of the paper tag with the saying for your best friend to the cup handle.
Add the Arch
Description
Form some binding wire into an arch. To do this, bend a long piece of wire so that it runs parallel three times and twist it into a thicker wire. Wrap the whole thing with cord and put wooden sticks on the ends of the wire, which you then also wrap with cord at the top to secure them. Then knot the cord together. Put the sticks into the potting soil so that the wire forms an arch over the photo stands. Now cut some hearts from the pink cardboard and attach them to the arch with double-sided tape.
Fill Package
Description
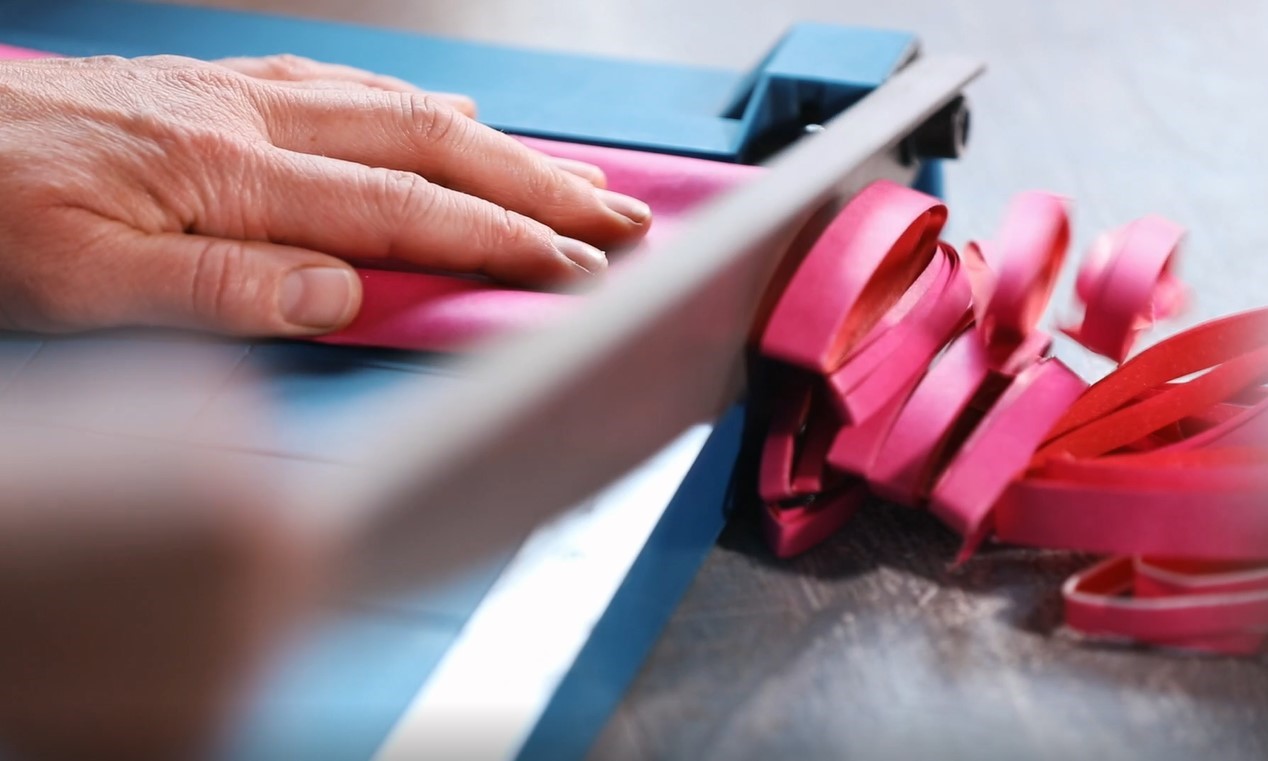
Use the cutting machine to make the pink cardboard into enough filling material for the packaging box. It is best to roll up the cardboard before cutting. Place some of the filling material on the bottom of the box and then place the Pink Kisses® inside. Insert two longer wooden sticks into the potting soil to give the Pink Kisses® more support during transport. Then fill the rest of the filling material into the box.
Beautify the Outside
Description
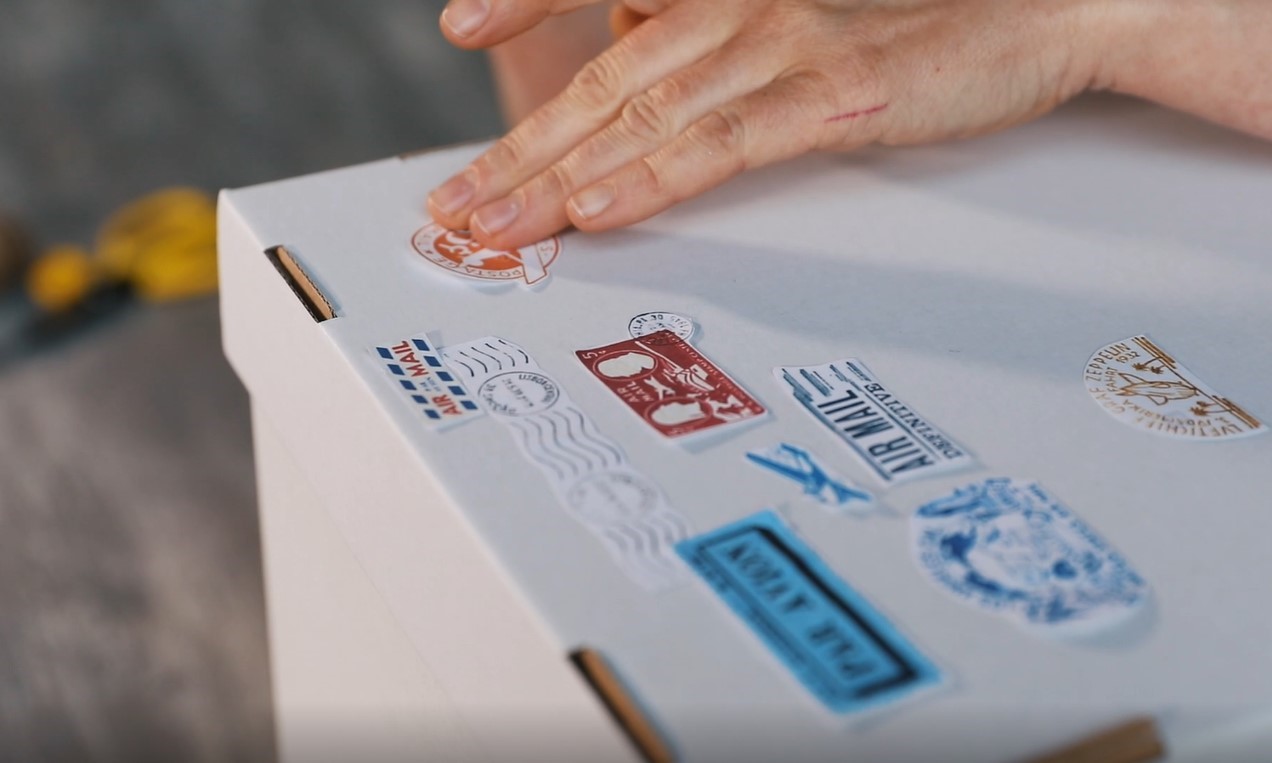
Put the lid on and tape it shut tightly. It’s best to draw some arrows on the box to make it clear which side of the parcel is the top. Then put some nice parcel stickers on the package to decorate it. Make sure to leave enough space for the addresses. For the perfect loving gift look, you can then tie the parcel with string.
You prefer your DIYs in video form? We‘ve got you covered! And if your DIY needs aren’t satisfied with one video, check out the Pink Kisses YouTube channel for more.
