Pink Kisses®
  • Home
  • DIY ideas
  • Girls brunch
  • Gallery
  • Fact file
  • Retail
  • DE
  • Menu Menu
  • Facebook
  • Instagram
  • Pinterest
  • Youtube
  • Pink Kisses DIY-Ideen
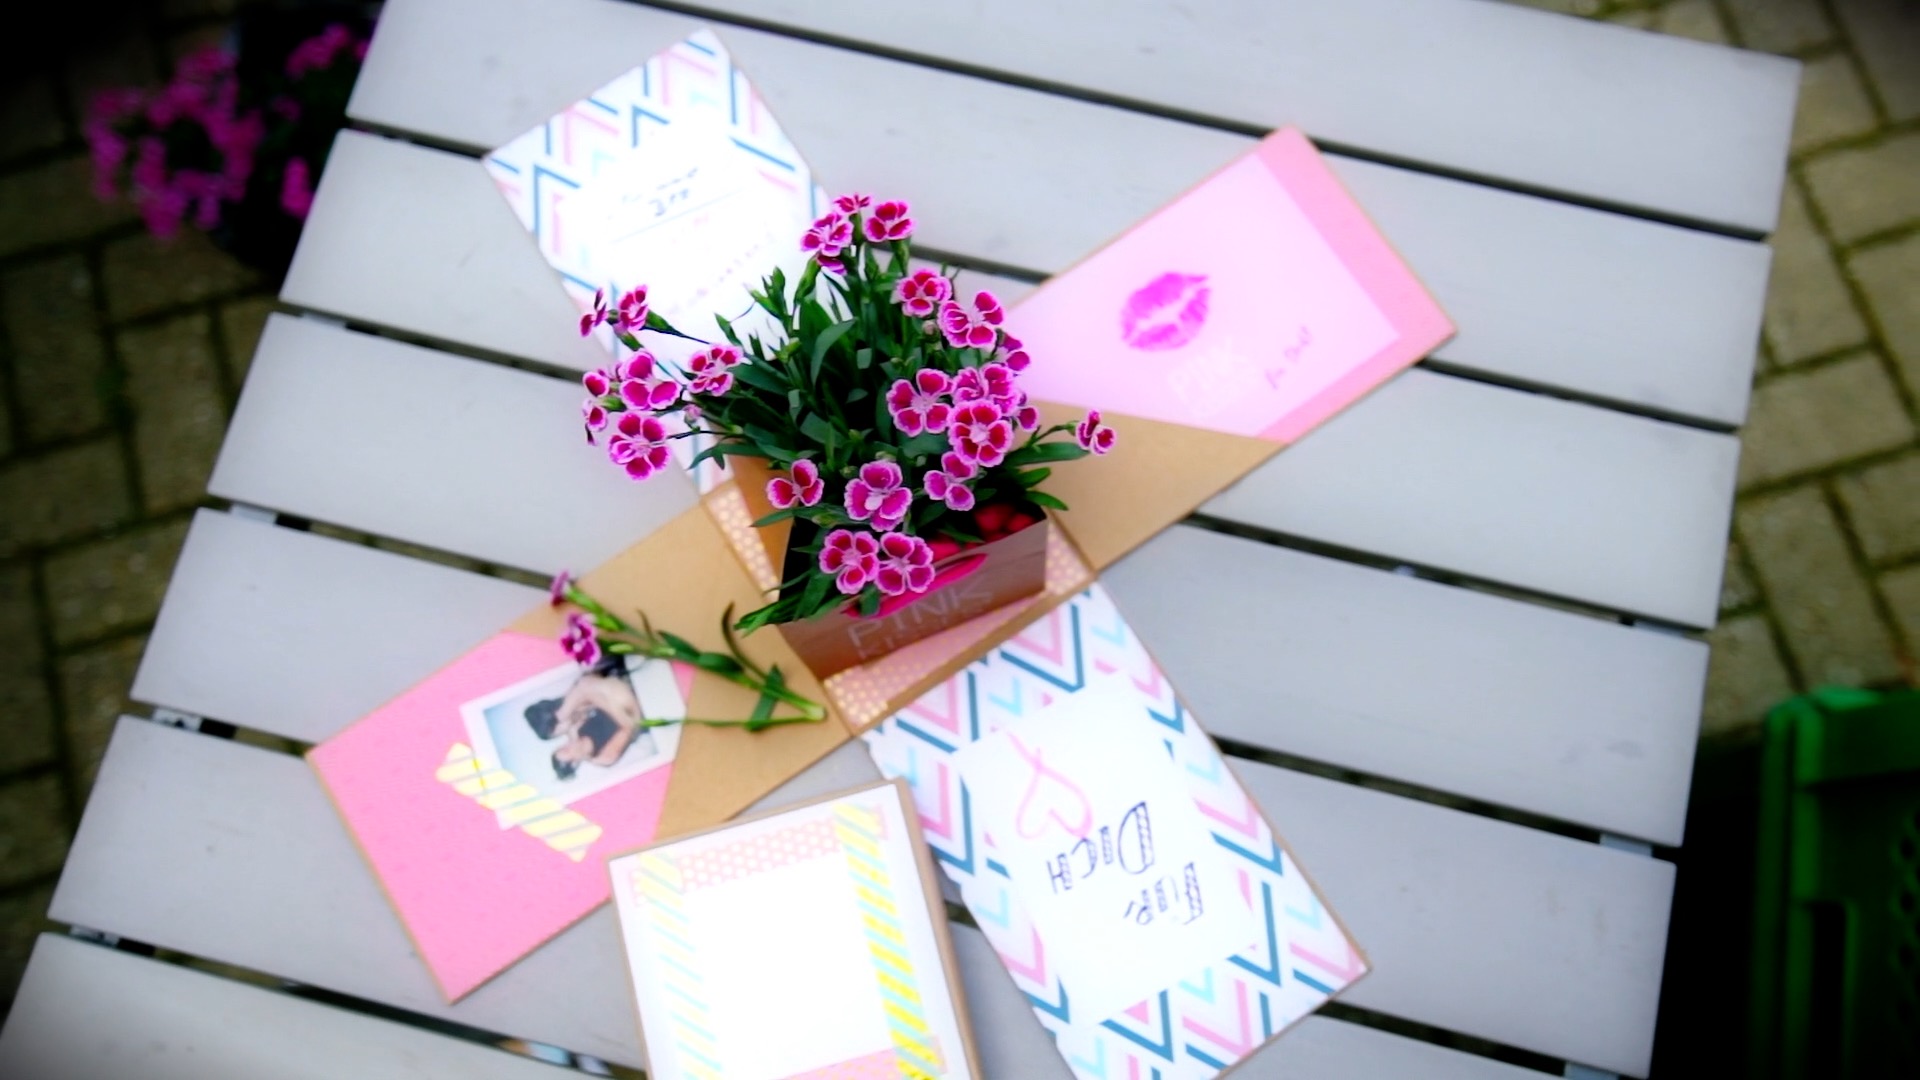
Offene Pop-Up-Box mit Pink Kisses

DIY Pop-up Box with Pink Kisses®

We asked Annemarie from the initiative “1000 gute Gründe für Blumen und Pflanzen” (“1000 good reasons for flowers and plants”) to show us and you what she thinks of our Pink Kisses® as a flower expert.

She couldn’t hide that she is a fan! We are completely thrilled with her idea to put the Pink Kisses® in a self-designed box with a surprise effect. With such a great box full of scented Pink Kisses®, you can send your BFF a very personal message.

Plus, of course, she knows a thing or two about plant care. She has taken a close look at the Pink Kisses® and put together a few tips on how to enjoy the cute mini carnations for a long time.

What You Need:

List

  • A pair of pointed scissors
  • Craft paper DIN A3, approx. 300 g
  • A paper cutter or a ruler and knife
  • Double-sided adhesive tape, 6 mm wide
  • Design paper with motifs of your choice, at least 4 sheets DIN A4
  • Photos, vouchers etc. as a gift
  • A Pink Kisses® carnation
Die Ecken der Bodenfläche werden ausgeschnitten

Make the Base

Description

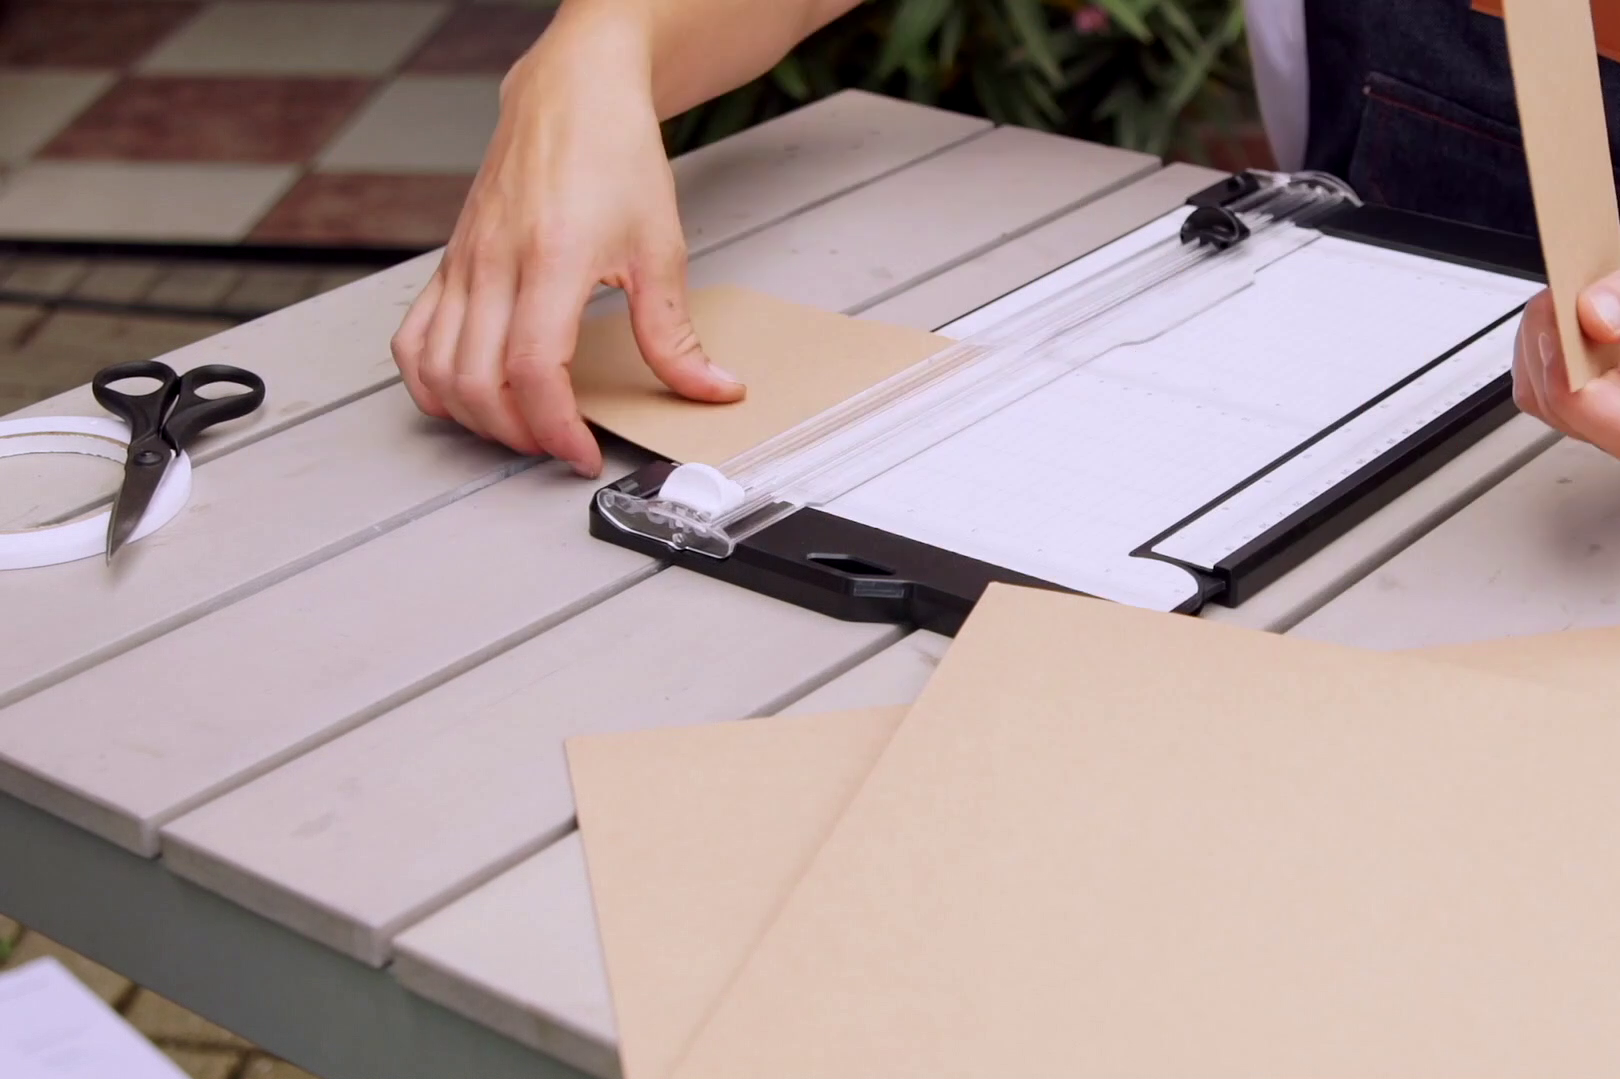
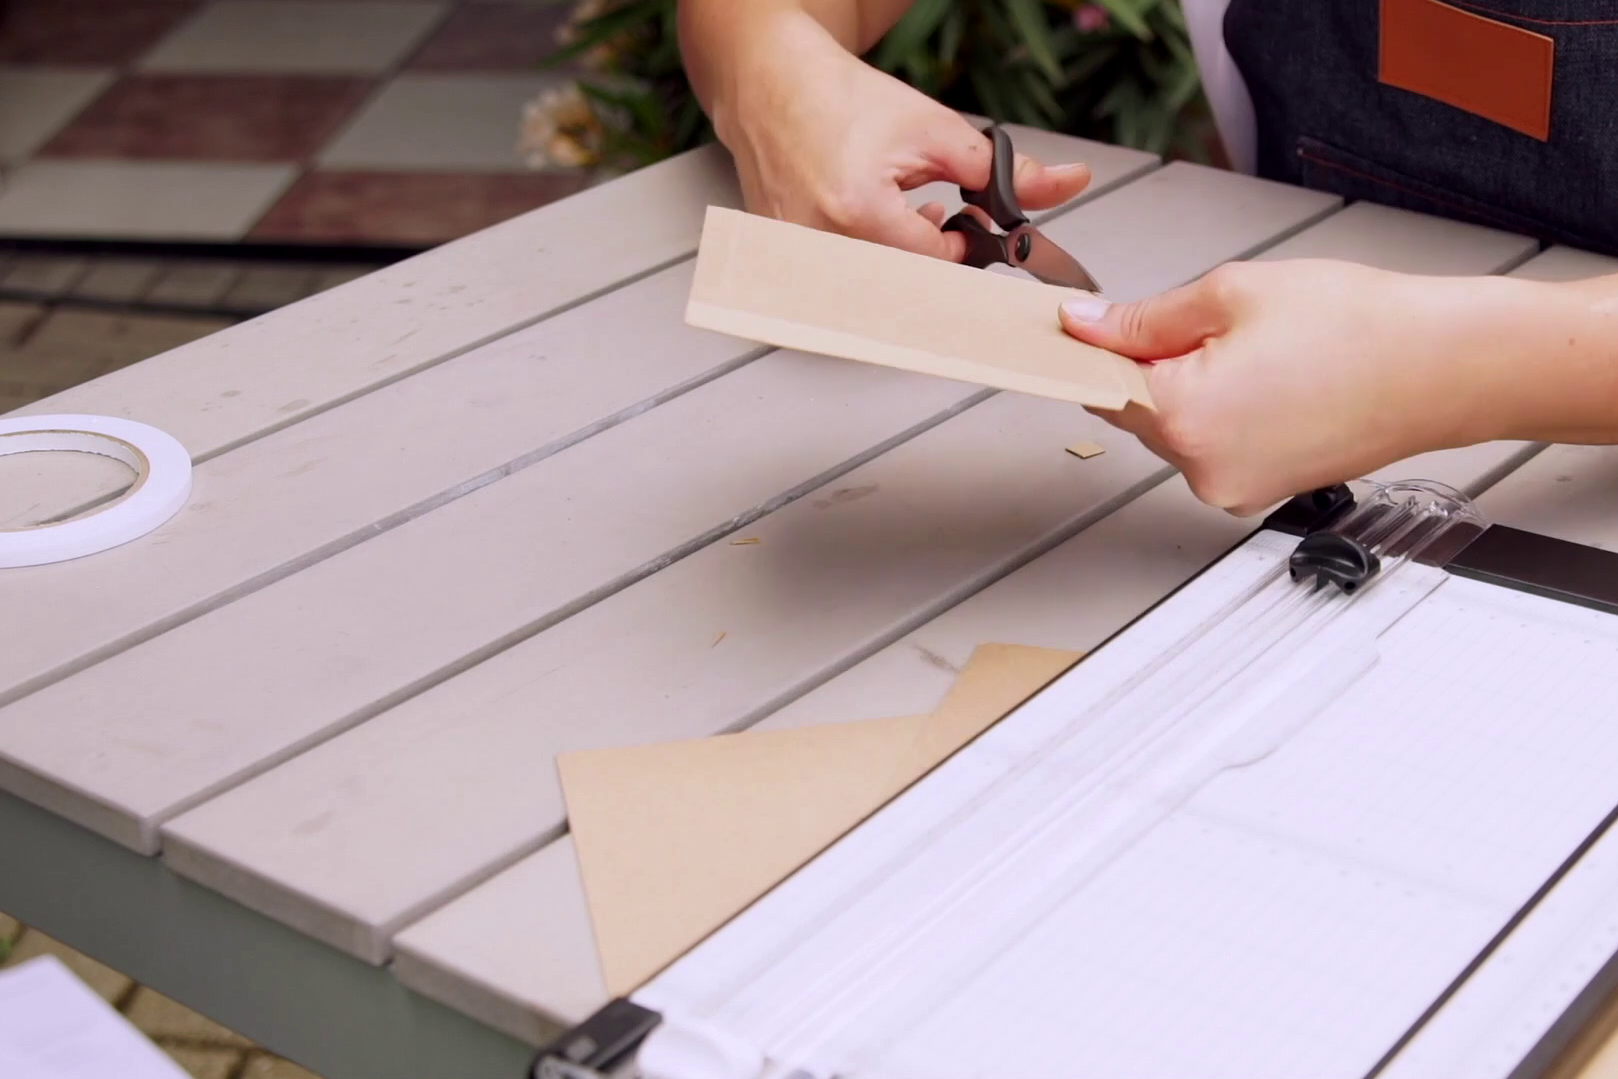
Before you can make the box, you first have to measure and calculate. But don’t worry, it’s not that difficult. You should first measure the base of the Pink Kisses®; this should be about 13 x 13 cm. Then add 1 cm of bond area on top and cut the appropriate area from the craft paper either with a paper cutter or a ruler and knife. Then fold up 1 cm of paper on each side and cut at the corners.

Das Papier für die Wände der Box wird zugeschnitten

Making the Walls

Description

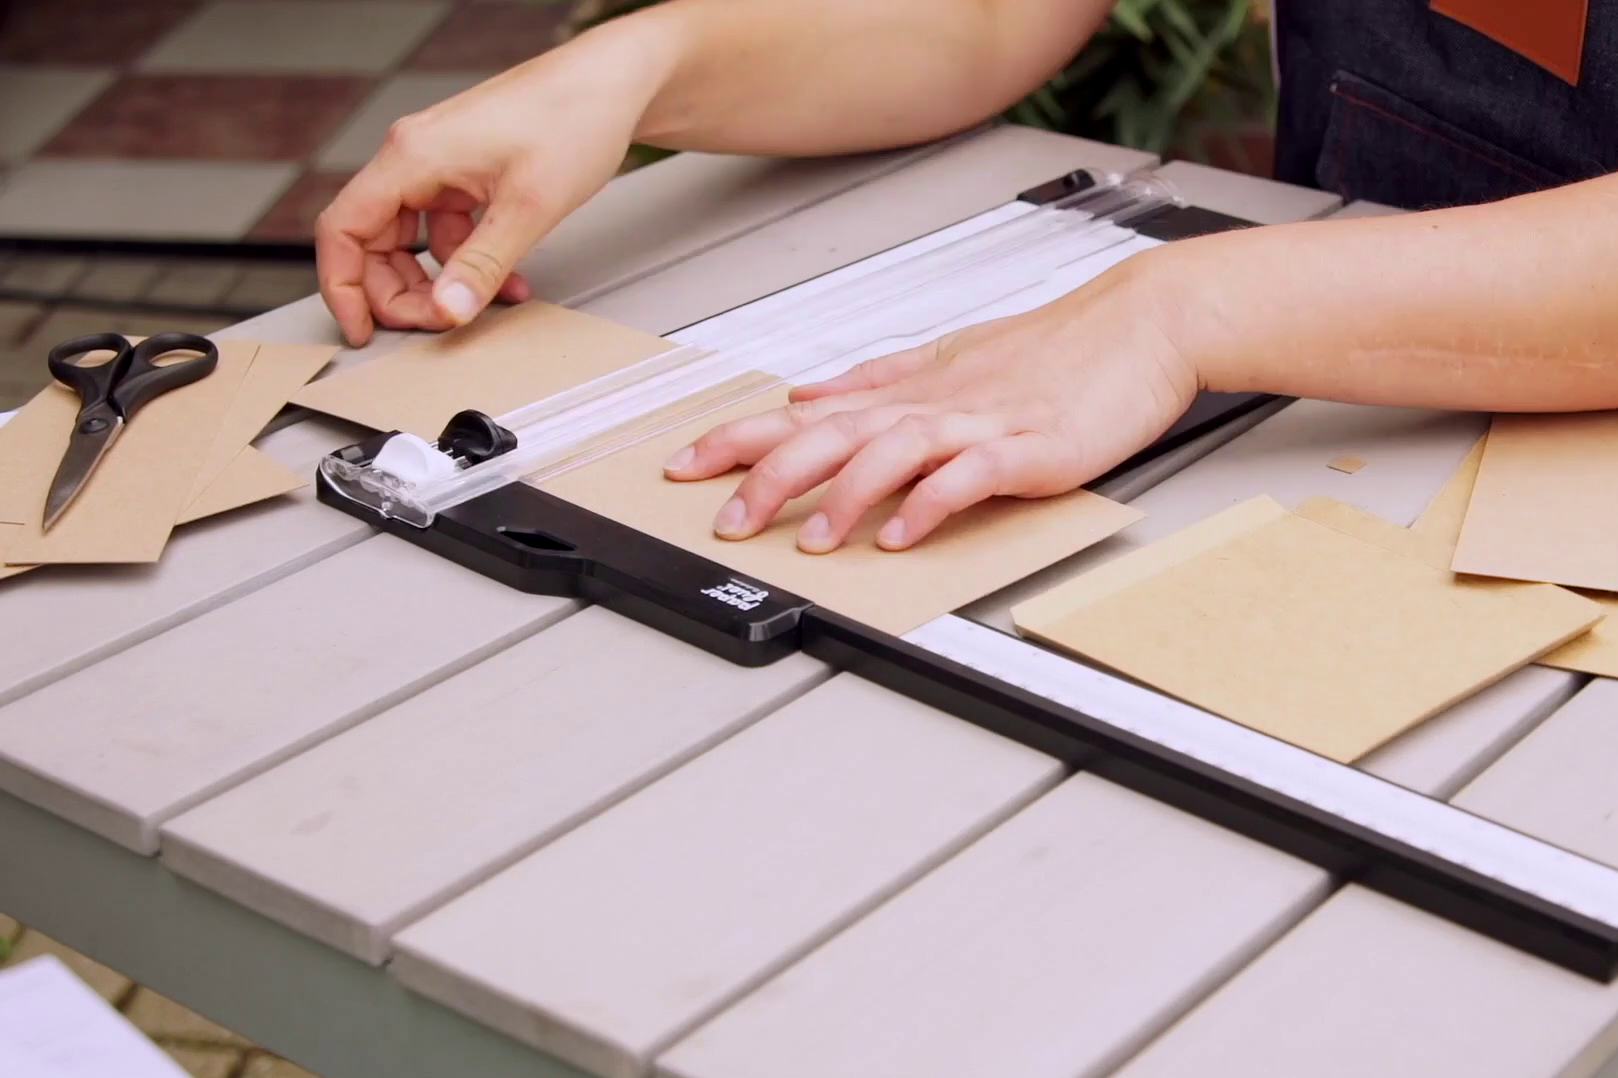
Next, it’s time to make the side walls. The length of the sides will of course depend on the base area; for the height, make sure that the box can completely encloses the Pink Kisses®. The walls should be about 13 x 19 cm. Cut four walls out of the same craft paper as you did for the bottom. You don’t need to leave any excess for gluing.

Doppelseitiges Klebeband wird für die Klebeblaschen angebracht

Glue the Box

Description

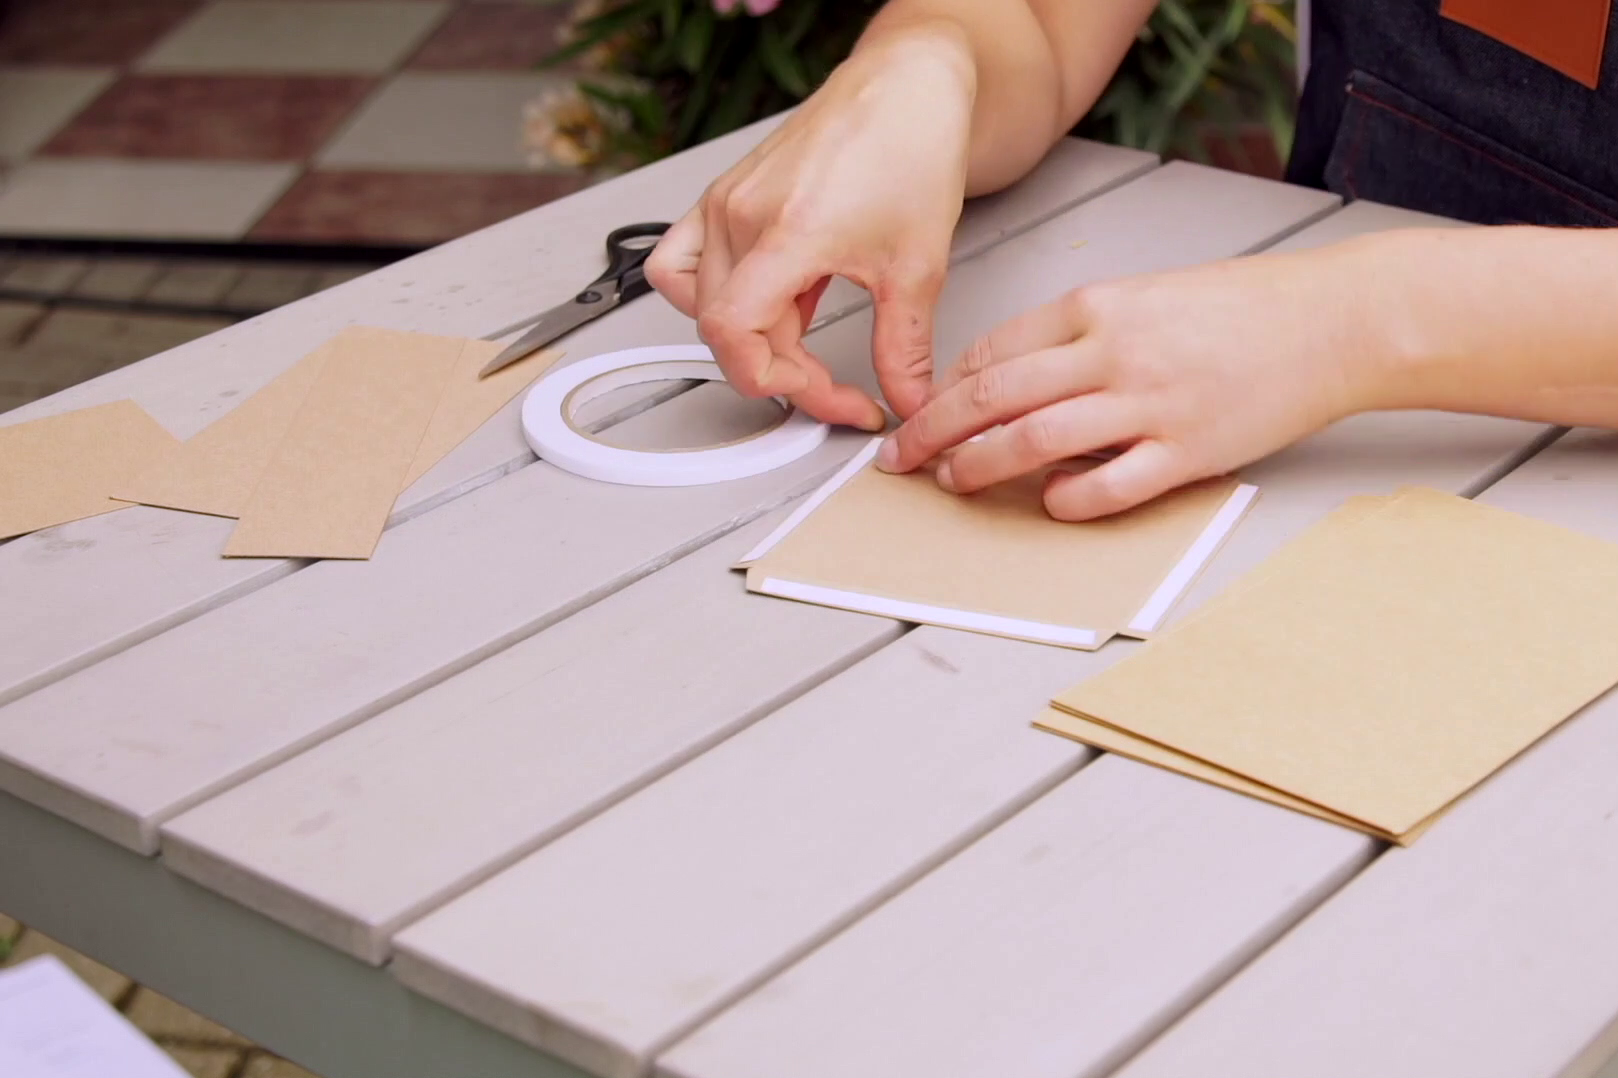
Once you have the walls and the bottom, stick them together. The easiest way to do this is to use double-sided tape, which you stick to the excess latches of the base. Leave these flat so that you can stick the walls neatly together. Before you continue, check that the Pink Kisses® really fits into your box.

Designpapier für die Wände wird aufgeklebt

Decorate the Walls

Description

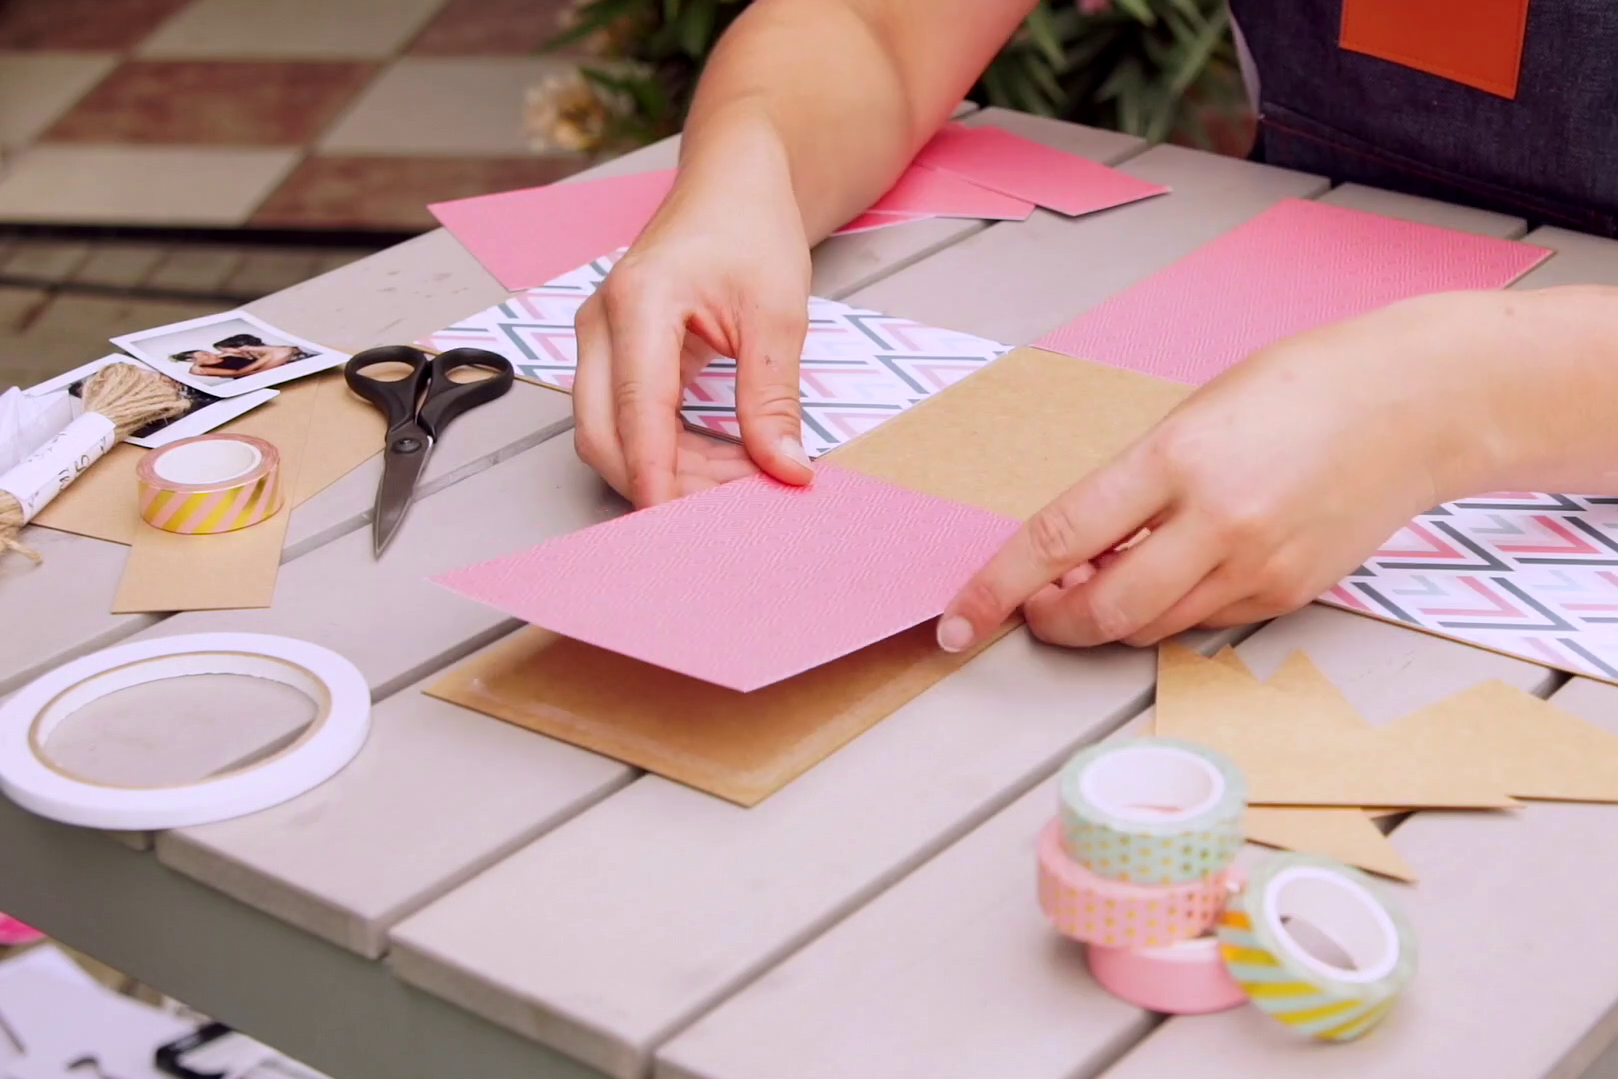
Now it’s time to decorate the box. First of all, choose the design paper you like – for the Pink Kisses®, pink is a choice! Cut both the outside and inside surfaces for the walls and stick them on with the double-sided adhesive tape. Now you can attach photos, vouchers or letters to the inside walls as you like.

Die Klebelaschen des Deckels werden mit doppelseitigen Klebeband beklebt

Make the Lid

Description

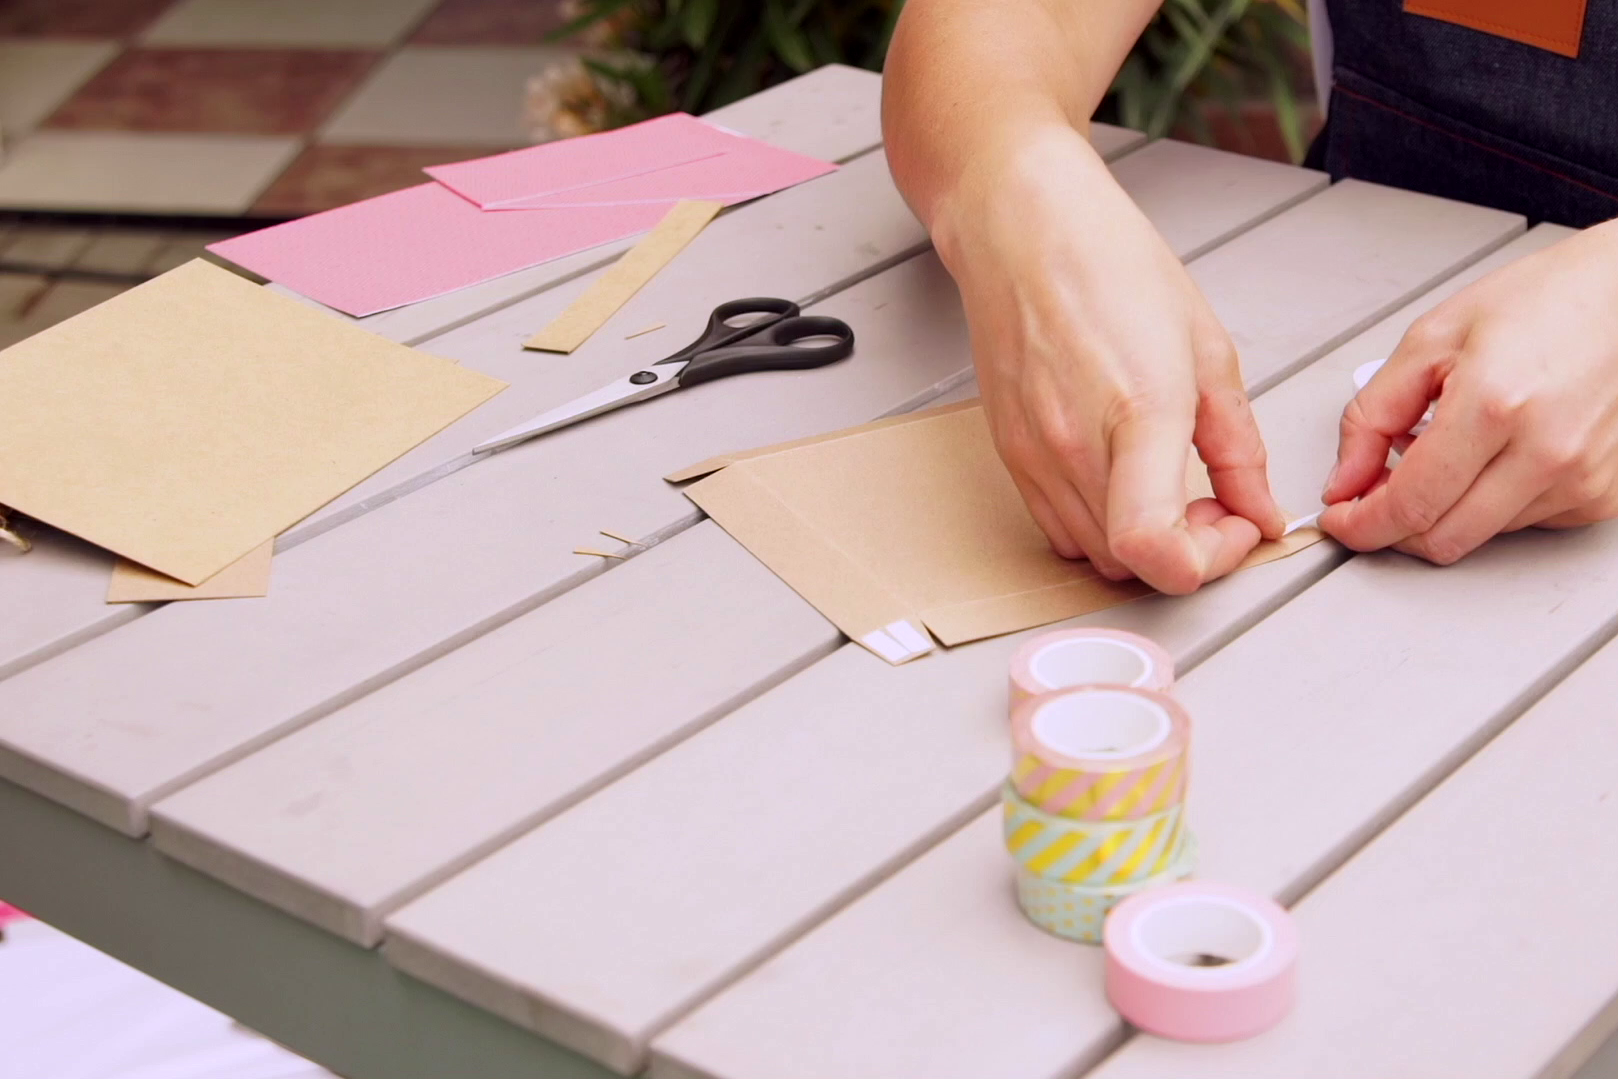
Now all that’s missing is the lid. The size of the lid depends on the base area of your box. Depending on the size of the box, you should add about 3-5 mm and then add the length of the edges of the lid which will fold down. You already know the game: Cut a suitably large piece of craft paper and fold the edges according to the size of your lid edges. At each corner, cut into the paper to the right of the corner according to the size of your lid edges.  Apply some double-sided tape to the corner flaps and stick the lid edges together.

Congratulations, the crafting is done! Now all you have to do is put the Pink Kisses® in the box, put the lid on, tie a bow around the whole thing and your Pink Kisses® pop-up box is ready!

You prefer your DIYs in video form? We‘ve got you covered! And if your DIY needs aren’t satisfied with one video, check out the Pink Kisses YouTube channel for more.

Annemarie’s tips for caring for Pink Kisses

  • Don’t water too much – Pink Kisses® don’t like wet feet!
  • Pinch off withered flowers and the Pink Kisses® will flower from March to September.
  • When repotting, break up the root ball so that lots of new roots form and the Pink Kisses® can spread out as much as it likes in its new home.

Conclusion: Don’t worry, the Pink Kisses® is super robust and really only needs your attention to be admired.

  • Imprint
  • Data privacy
Scroll to top
  • DE
  • EN